Easy Sourdough Bread Baking Schedules (Digital Download Included)
Last Updated on July 5, 2025 by Jamie Saechao
These easy sourdough bread baking schedules make the baking process clear and easy to understand. Scroll through the post for a few free downloadable schedules.
You are not alone if you feel intimidated by sourdough. I owned an established sourdough starter for several YEARS before I attempted to make a loaf of bread.
My husband even made the first loaf because I was so nervous about it!

Looking back now this seems silly, but if you’ve read any sourdough bread recipe, you know how complicated the process can get.
The good news is that sourdough baking does not have to be complicated. It can actually be pretty simple and you can adjust the process to suit your schedule.
My goal is to provide you with several easy sourdough bread baking schedules that will help you demystify the process and create an easy baking timeline custom to your lifestyle.

As you continue your sourdough journey, you will find nearly as many methods to make sourdough as there are bread bakers!
My goal is to give you a simple starting place to help you start baking immediately.
This is my favorite easy sourdough recipe that works great with these timeline tips!
The Best Timeline For Feeding Your Sourdough Starter
Let’s start with feeding that hungry sourdough starter.
How often do you need to feed your starter? The answer really depends on how frequently you’d like to bake!
Unlike commercial yeast, a sourdough starter is a living organism that needs time to be nourished and become potent enough to provide a raising agent for baked goods.
Therefore, a little thought must go into how frequently you feed and use your starter.
Sourdough starter must be active to allow bread to rise. This means that the starter has been fed and given time to digest the flour. The starter will double in size and look bubbly a few hours after feeding (anywhere from 4-8 depending on room temperature).
Eventually, it will hit peak activity and then fall.
If you want to use your sourdough starter to bake with each day, replenish it with equal portions of flour and water after you use it to create your recipe.

If you would like to bake once or twice a week, keep your sourdough in the refrigerator with a tight lid. A few days before making your bread (or other sourdough baked goods), remove the starter and give it a feeding.
You may need to feed it for several days in a row before starting your recipe.
Remember that you’ll need an active sourdough starter to make bread. So, if you keep your starter in the fridge, give yourself plenty of time to feed your starter before making your recipe.
You can feed your starter with all-purpose flour or bread flour. Personally, I have found my starter to be more active, thick, and healthy with bread flour.
Sourdough Bread Baking Process

The sourdough baking process consists of just seven main steps. Once you understand each of these stages, you can adjust them to your lifestyle and schedule.
By the way, rules are made to be broken. Many people skip parts of this process, and you can experiment to find what works best for you!
1.Mixing Dough: This is where the ingredients are mixed together, forming a loose, shaggy ball.
2. Autolyse: Allow the bread to rest (autolyse) for one hour, absorbing the liquid into the flour.
3.Stretch + Folds: This process adds air to the dough, strengthens the gluten, and can help the dough rise.
4.Bulk Fermentation: Bulk fermentation begins as soon as the dough is mixed. In a nutshell, this is where carbon dioxide is released, the dough rises, and the signature acidic sourdough taste develops.
5.Shaping: Once the dough is fermented, it is shaped into a loaf of bread. It’s important to add tension to the dough at this time. The bread is placed in a banneton (I simply use a floured bowl) for its second rise or proof.
6.Proofing: This second rise is often done in a cooler location, like the refrigerator, for a shorter time.
7.Scoring + Baking: The dough is scored to release steam and then baked.
An Easy Schedule For Overnight Sourdough Bread

The most common way to ferment sourdough bread is with an overnight schedule. This “bulk fermentation” process is usually about 8-10 hours long, depending on the temperature of your kitchen.
This nightly fermentation is the first rise, with a second cold rise commonly done in the fridge.
Here is a simple schedule for overnight bread:
9 pm: Mix ingredients for Dough, let the Dough rest for 45-60 minutes
10 pm: Perform the first set of stretch and folds
10:30-11:30: Perform 2-3 additional sets of stretch and folds **optional
11:30-7:30: Overnight fermentation
7:30: Shape dough + place in a proofing basket (I use a large bowl dusted with flour)
7:45: Place in fridge for cold proof for at least one hour
9:00 am: Preheat oven, place Dough on a piece of parchment paper, score, and bake bread
Notes On This Schedule:
- In between stretching and folding your dough and during your fermentation or proofing time, you will cover the dough with a damp kitchen towel or plastic wrap.
- Stretching and folding the dough helps to develop the gluten and will give you a more developed bread crumb. However, doing multiple repetitions of stretching and folding is optional, and if you lead a busy life and need to skip them, do so! You can make a great loaf without this step- I’ve done it many times.
- For best results, watch the dough to see how long it takes to double in size- if it is over-fermenting because your kitchen is very warm, you can switch to a same-day sourdough schedule.
- I do not preheat my Dutch Oven prior to baking as I prefer not to handle a hot Dutch oven because my kids are always at my elbows, and I still get a fantastic oven spring without doing so.
Try my easy and simple sandwich bread recipe here!
Same Day Schedule (Feeding At Night + Baking In The Morning)

This is a fantastic schedule for those of you who want to make bread but have a busy schedule.
10-11 pm: the night before: Feed your sourdough starter in preparation for bread the next morning. You may need up to100 grams of sourdough starter for a same day recipe.
6-7am: Mix your Dough, cover + let rest for 40-60 minutes.
7 am: Stretch + Fold Dough
7-8:30: Additional Stretch + Folds
8:30 Bulk Rise (Let Dough rise until double in size)
4:30: Shape Dough + Place In Fridge For Cold Proof
5:30: Score Dough + Bake

Notes On This Schedule:
More sourdough starter is added to this recipe to speed up the fermentation process. In my recipes I increase the amount of starter used from 60 grams to 100 grams.
Combined with the warmer temperatures, this dough is typically ready to bake in 8 hours or less.
Always go with the size (volume) of the dough verses the time: it is done fermenting once it has doubled in size and has a few air bubbles on the top. You can use a clear plastic container like this one to help you monitor the rise.
This same day schedule is my go-to in the summer because we tend to get temperatures that make overnight fermentation impossible (the heat makes the bread rise too quickly).
It’s satisfying to know that a beautiful loaf is developing all day and will be ready by supper.
Baking Schedule + Tips

There are many thoughts on sourdough baking times, some complicated and some a bit simpler. As always, I have developed a straightforward process that works well for baking all of my homemade sourdough bread.
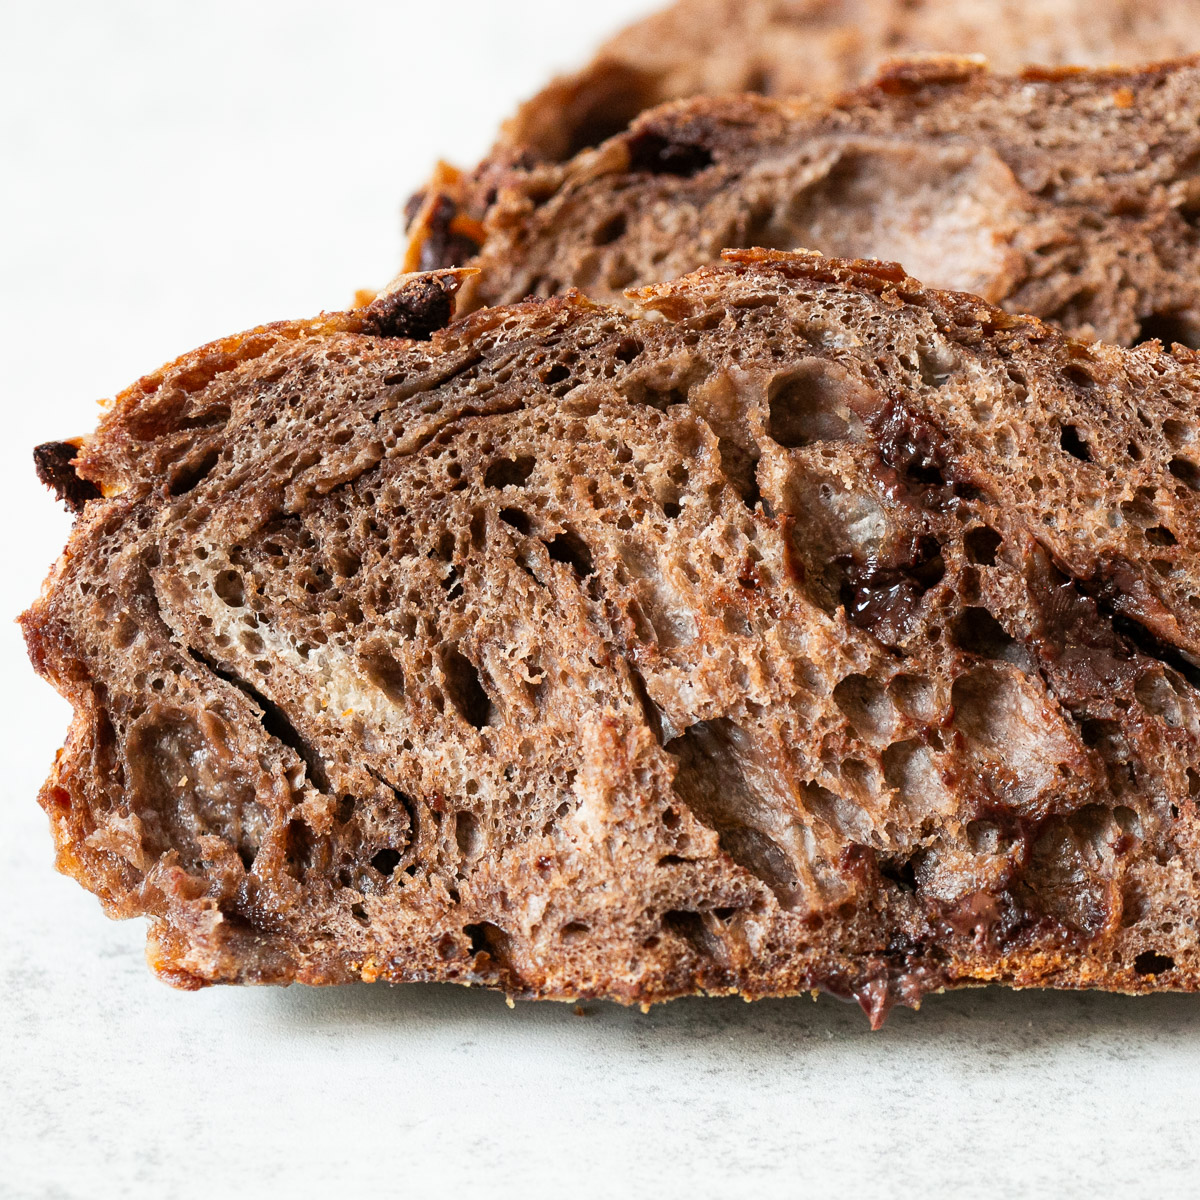
This schedule has not failed on any of my boules, and I use it for my chocolate chip loaf, my (delicious) olive oil herb boule, and my whole wheat bread loaf.
Easy baking schedule:
- 30 minutes prior to baking, I place my loaf in the freezer. A nice, cold dough is perfect for scoring.
- Preheat oven to 450 degrees.
- Place the bread on a piece of parchment paper and score the top of the dough with a sharp razor blade (simple bread scoring patterns found here)
- Place the bread in a COLD Dutch oven and bake for 25 minutes.
- Remove the Dutch oven lid and bake for an additional 20-25 minutes or until the top is golden brown.
- Let the bread cool for at least one hour before slicing.

Final Thoughts
I hope this article helped you simplify the sourdough baking process!
There are many different ways to bake a loaf of bread, but I hope I gave you a simple starting point to make the process easier.
Let me know in the comments if you have any questions!


Where can I find your digital download of the instructions? I’m new to sourdough and have a 4 week old starter. My first attempt was somewhat a fail; dense, heavy and kind of flat but I’m determined to keep trying, without over complicating the process. I love your blog and all the info you give.
Hi Vee! Thank you so much for your kind words. So if you right click on the images with the timelines you should be able to download them. If not let me know and I’ll email them to you. 🙂 I’m sorry your first loaf turned out flat! How old is your starter? I’ll be setting up a newsletter soon for more tips also. Let me know how I can help! 🙂
Hi! Could you email me the recipes? I’m on my phone and I can’t right click. And when I do click, nothing happens. Thanks sooo much! I can’t wait to try this!!!
Hi Danielle! Here are a few easy recipes I love that would work with these timelines: https://gingerhomemaking.com/easy-sourdough-bread-recipe/, https://gingerhomemaking.com/easy-sourdough-herb-bread-recipe/, https://gingerhomemaking.com/rosemary-sourdough-bread-recipe/.