How To Start A Sourdough Starter From Scratch
Last Updated on September 7, 2025 by Jamie Saechao
Learn how to start a sourdough starter from scratch with this easy step-by-step recipe. I’ve included notes on each day of feeding, the best flour to use, and frequently asked questions.

I know that getting a started with sourdough can be intimidating. Over the years, I have created new starters several times and used them to create delicious breads, desserts, and savory dishes.
But, I clearly remember watching the first starter I created with a concerned eye- wondering if it would grow mold, rot, or burst into flames!
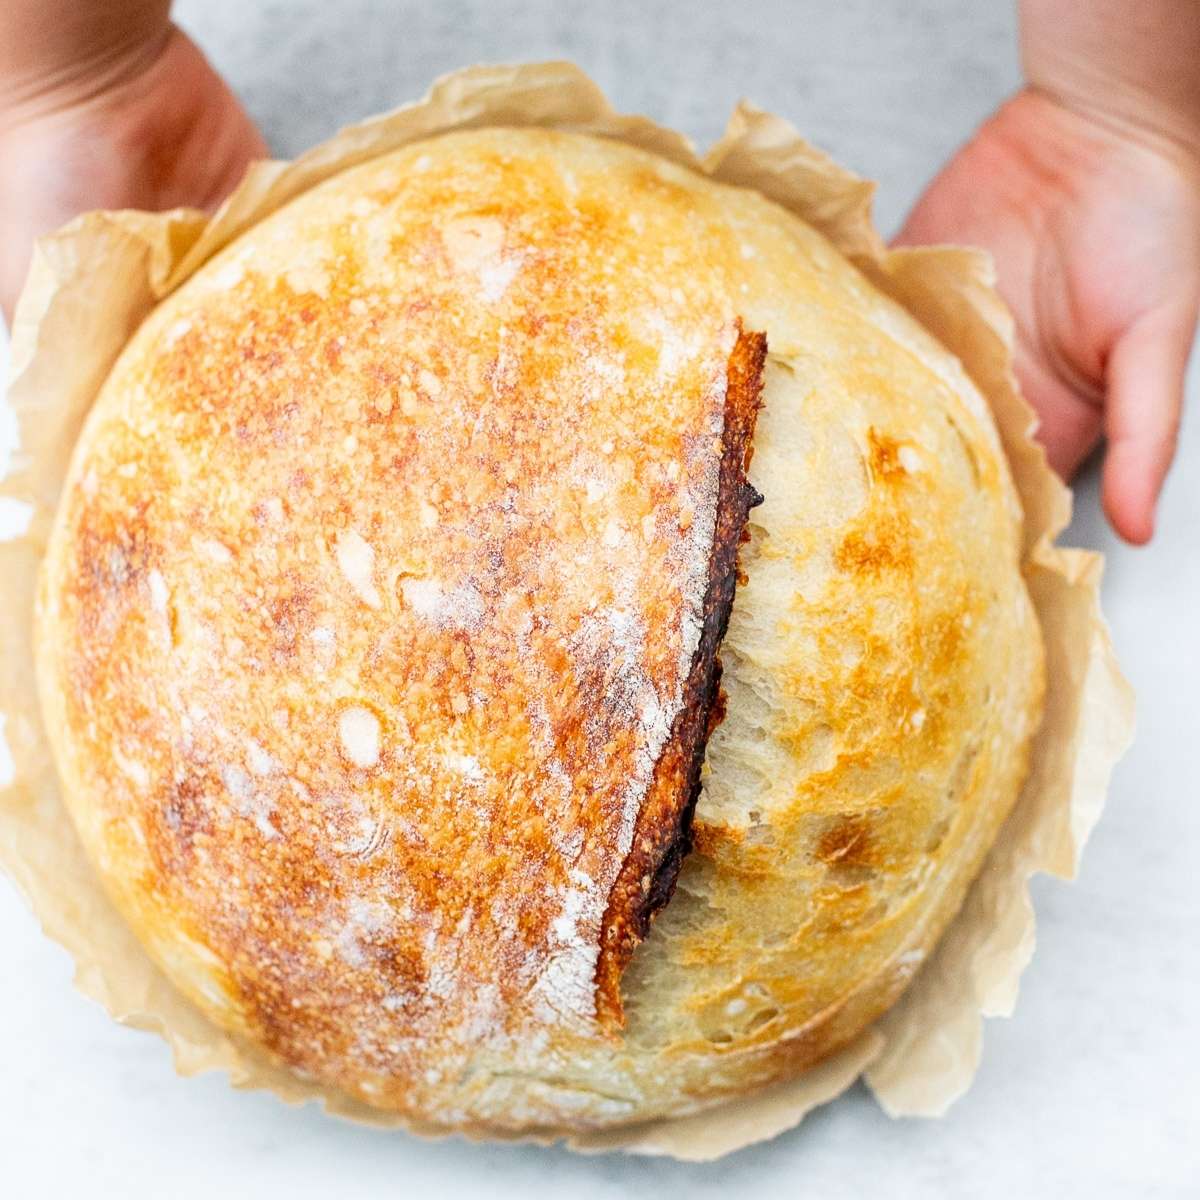
The process, however, is actually quite simple: all you need to get going is equal parts flour and water. An active sourdough starter is the key ingredient to making a lovely loaf of sourdough bread, of which I’ve now made hundreds.
And, I have not had a starter burst into flames yet….

Recently, my 6-year-old wanted to make his own starter. And we did!
The process is straightforward and simple, though you’ll need a generous dose of patience.
Let me walk you through the simple steps. Soon, you’ll be crafting your own wholesome homemade sourdough bread and mouth-watering sourdough cookies!
This post contains affiliate links. If you click through and make a purchase I may make a small commission at no cost to you.
What Is A Sourdough Starter?
Sourdough is not your typical recipe. Think of it more as a science experiment!
A sourdough starter is a wild culture of yeasts, water, bacteria, and flour. This combination of ingredients creates a living organism that lives on your countertop and works as yeast to allow bread to rise!

Like pickles or sauerkraut, sourdough starter is a ferment. One of the most remarkable aspects of a starter is that each one is unique: it collects and reflects the particular bacteria in your home!
Sourdough is a rising agent used in specific bread recipes. It lends a distinct, tangy flavor and chewy texture beloved by sourdough enthusiasts worldwide.
This living ingredient is full of beneficial bacteria that break down the nutrients in flour, making them easier to digest.
Unlike quick commercial yeast, the natural yeasts in sourdough starters take time to develop the bread.
Bread takes longer to make this way, but it’s worth the wait! I regularly make delicious, wholesome breads, breakfasts, muffins, and treats with my starter.
Tools
- Clean jar (a wide mouth jar works best if you have one)
- Spatula (I like to use a thin one like this)
- Kitchen scale (for weighing in grams, optional)
- Saran wrap, lid, or other covering for your jar
- Warm ambient temperature. Is this a tool? Maybe not, but you need to be prepared to keep your kitchen extra warm as you establish your starter.

You can also purchase a sourdough kit like this one, which has everything you need to get started.
Or, you can go budget friendly and use an old spaghetti jar (sanitized, of course).
Ingredients
- Organic Bread Flour (this recipe calls for bread flour, but you can use all-purpose flour as well)
- Filtered water
*Some people like to start their starters with rye flour or whole wheat flour, but I’ve found I can use bread flour from the get-go with great results! If you’d like to experiment with the type of flour, feel free.
I love Organic King Arthur flour and typically use it in all of my recipes and any starter projects we have going on.
How Long Does It Take Before Use?
It can take 10-30 days for a sourdough starter to become teeming with beneficial bacteria and ready to use.
Generally speaking, however, you can begin to bake bread around day 14.
The Importance Of Temperature
Room temperature is of utmost importance when growing a sourdough starter. For best results, keeping a sourdough starter at 75 degrees F while it is growing is recommended.
For our most recent experiment, however, the temperature was between 72 and 73 degrees, and our starter began to thrive within a few days.
If your kitchen counter is not warm enough, you can put your sourdough starter on a baking sheet and put it in a cold oven, turning the light on to warm it up. However, this should only be done for a few hours a day, not the entire day.
How To Make Your Sourdough Starter From Scratch
Here is a step-by-step process for making a sourdough starter. I’ve made the process easy enough that a 6-year-old could do it (and my son, Malachi, did!).
Day 1:
Pour 1/2 cup bread flour (60 grams) and 1/2 cup water (119 grams) into your jar.
Mix well with a thin spatula or fork, scrape down the sides of the jar, and cover with your choice of lid. Let the magic work for 24 hours.
Temperature tips: Make sure the temperature of your kitchen is between 72-75 degrees F.


Day 2:
If there are bubbles on top of your starter, discard half on it into the trash, then feed it 1/2 cup water and 1/2 cup bread flour.
You may or may not see a little bit of bubble action today. If you see bubbles, discard approximately half of your starter and feed it fresh flour and water. If no bubbles are present, leave your starter for another 24 hours.
(Our starter had NO bubbles present, so we left it to ferment another day). It can be normal for the liquid and solids to separate and the mixture to look flat, like this:

Day 3
It’s time to start consistently feeding your starter every day! We are going to change the amounts slightly here.
Discard half of your starter, and feed the remaining starter 1/2 cup flour (60 grams) and 1/4 cup water (60 grams). Mix well, once again, with a fork or spatula. Cover and set your starter in a warm place.
*To discard your starter simply dump half of it in the trash. Do not dump it down the drain.


Days 4-10:
The excitement begins: you’ll likely see lots of bubbles on the top of your sourdough starter now.
Continue discarding a portion of the starter and feed it 1/2 cup of flour and 1/4 cup water each day.


I recommend waiting until your starter is two weeks old to make bread. Some people choose to start around day ten, however. There are lots of opinions on when to start, I simply think waiting a bit longer for the bacteria to establish is wise.
Make sure your starter doubles in size with every feeding before you start baking with it.
Smells + Liquids
On days 2-3, you may notice that the liquid has separated in the jar, and there may be a thin layer of brownish liquid on top of your starter. Don’t freak out; this liquid is normal and called the “hooch.”
It can and will develop whenever your starter gets hungry. I rarely see hooch on my established starter because she is fed daily. Hooch is harmless and can be stirred into the mixture or drained off the top
Your starter may also smell like paint. This is due to the naturally occurring alcohol, which is a byproduct of fermentation.
On days 2-3, your sourdough starter may develop an unsavory smell reminiscent of dirty socks. Have no fear; this unsavory smell can be part of the process. It means the bacteria are changing, and it’s a good sign!
If your sourdough starter continues to have a putrid, musky gym sock smell, you will need to throw it out and start over. This has happened to me before. It doesn’t mean you can’t establish a successful starter, you just need to try again.
Feeding Ratios
I used a 50-50 feeding ratio for this sourdough starter. This means I fed the base amount of starter equal portions of flour and water, resulting in a 100% hydration starter. This formula is considered the standard feeding ratio for keeping sourdough.
I sometimes feed my starter more flour than water to strengthen it. You can get more strengthening tips here.
Tips
- When possible, I like to check my starter at the same 24-hour mark as it grows.
- Be patient! Growing a new starter takes time. The time it takes to establish can vary: it can take as long as three weeks in some environments!
- Water matters! Make sure you are using a high-quality water source. Filtered water, bottled water, or spring water should all work well. Sometimes, tap water works just fine as well, but it can potentially impede the growth of your starter, so it’s better to use a filtered option.
- If growth is slow, it may be related to temperature. Make sure your home is warm enough for your starter.

When Is It Ready To Use?
Remember that sourdough is a living thing whose growth depends on its environment’s temperature, humidity, and bacteria. Growth takes time!
Technically speaking, a sourdough starter is ready to use after a few weeks of being fed, at least 14 days. It takes time for the healthy bacteria to become established.
The older the starter becomes, the more beneficial bacteria and yeasts are established. With every feeding, you create a superfood that you can use to create all kinds of delicious dough! Keep that in mind as you patiently wait for your ferment to establish!
Here are a few tale-tell signs that your homemade sourdough starter is healthy, established, and ready to be used in baked goods:
- It doubles in size within 4-8 hours after feeding.
- Float test: when a portion of the active starter is dropped into water, it should float. I have not found this the most reliable method of testing sourdough starter readiness, but some people swear by it.
- The starter’s consistency is loose and airy, with lots of bubbles (as shown in the photo below).
- If you are not sure if your starter is ready to use, continue discarding and feeding it. It can take up to a month for a starter to mature.
Ready to bake? Get my easy sourdough bread recipe for beginners here.

What Is Sourdough Discard?
Sourdough discard is a portion of the starter removed during daily feedings before feeding with fresh flour and water.
Many people do not realize that a starter can exist without any discard at all! If you feed your starter just the food and water it needs to make a bread recipe, you will not have any “leftover” discard.
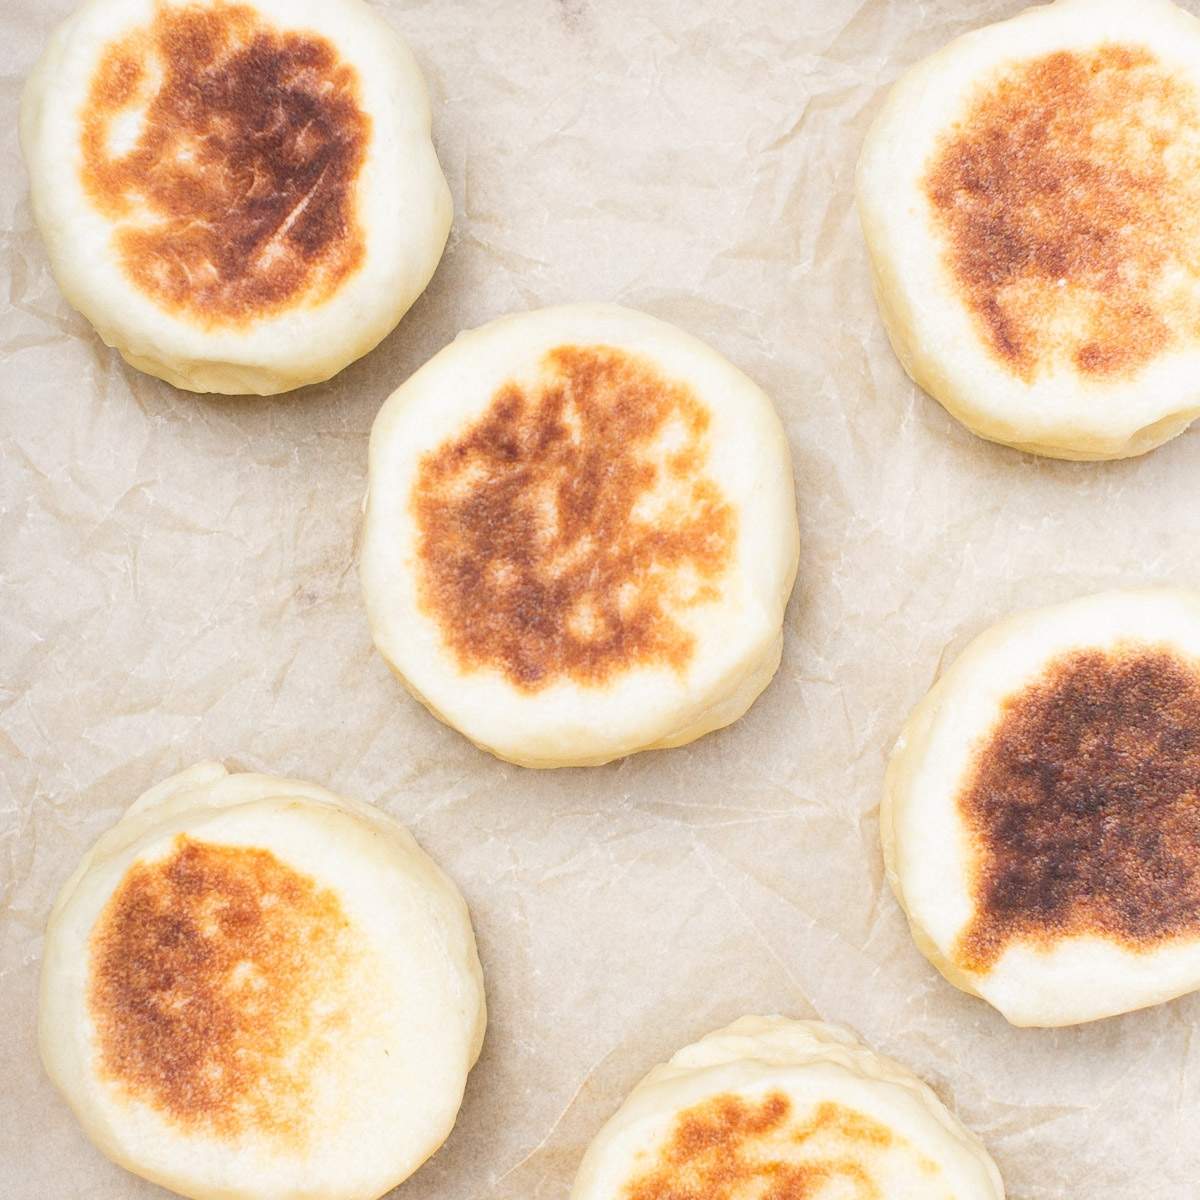
Personally, I love to keep extra discard on hand. I use it in sourdough pancakes, crepes, muffins, and my famous sourdough chocolate cake!
Maintenance
- Regularly transfer your starter to a clean glass jar to prevent buildup and reduce the risk of mold (I do this about once a week)
- If you keep it on the counter, you’ll need to feed it frequently, at least once a day.
- If you do not plan to bake every day, tightly cover your starter and store it in the fridge. Pull it out a few days before you use it and start the feeding process. You’ll want to give it a few feeds before baking with it.
- Cover your starter with a glass lid or a saran wrap secured with a rubber band. I no longer use fabric or paper towels as a cover as I believe it can encourage mold growth.
I hope this recipe has helped you as you begin your sourdough journey. My son, Malachi (age 6), would love to share with you that the sourdough starter featured in the photos is his.
In his own words, anyone can make sourdough from scratch!

Sourdough Starter From Scratch
Equipment
- 1 Wide Mouth Jar with lid or other covering
- 1 Offset Spatula or fork for stirring
- 1 Scale optional, for weighing in grams
Ingredients
- Bread Flour Organic if possible. You can also use whole grain or whole wheat flour.
- Filtered Water
Instructions
- Day 1: On day one mix half cup bread flour and half cup starter into a clean wide jar. Stir vigorously, scraping down the sides. Cover with saran wrap and a rubber band or with a the lid of the jar.
- Day 2: 24 hours later, check to see if your starter has any activity. If it is bubbly and active, discard half of the starter in the trash and feed it with 1/2 cup water and 1/2 bread flour. Cover and wait another 24 hours.
- Day 3: Discard half of the starter, making sure to dispose of it in the trash. Feed with 1/2 cup flour and 1/4 cup water. Stir and scrape down the sides, then cover.
- Day 4-10: Each day discard half of the starter and refeed it with new flour and water. The starter would be bubbly, active, and doubling in size. (This can take time, however, so don't be discouraged if it's not active right away).
- Your starter is ready to use when it double in size 4-8 hours after feeding, and has a light and clean sourdough aroma. I recommend waiting until day 14 to bake bread. Move to a larger container if you desire to keep a large amount of starter on hand for sourdough discard recipes.


When do you measure what half is? Before the bubbles or after. As it seems to fall once you stick the spatula in it. I hope that makes sense.
Hi Anita! I would include the bubbles. You can also use a scale to measure the weight before and after.
There were no bubbles so I didn’t discard and feed on day two. Day three is here and still no activity. Do I discard and feed anyway?
Yes, I would try that today… let me know what happens tomorrow. 🙂
Hi Jamie, thanks for posting this helpful recipe for beginners! I’m just curious what to do with my starter after day 14. Do I just keep discarding/feeding every day? Thank you.
Hi Tiffany!
Such a good question and I will make sure to update the post with that… I also have an article on feeding and maintaining your starter here:
https://gingerhomemaking.com/feeding-maintaining-your-sourdough-starter/
If your starter is active and doubling in size after every feeding, you have two options. You can keep it on the counter and feed it every day, either using the active starter for a recipe or discarding the flat sourdough and using it in recipes as discard.
Or, you can let it live in your fridge. When you are ready to bake with it, pull it out and feed it.
Let me know if that helps!
I’m on day 7 of the daily feed and there are not bubbles like there was the first 3 days. Do I just keep feeding it or do I need to start over?
Hi Shawn
Can you email me a photo of it after feeding at [email protected]? If there is no activity i would probably start fresh but it is hard to say without seeing/smelling it!
I have not tried making sour dough before but I’m definitely going to give this a go for work🥰
Can I use my discard to start another batch? I work Monday through friday, what do I do with the dough on the weekend when I’m not there to feed it?
Thanks
Hi Natasha! You can always cover and stick your sourdough into the fridge while you are working or if you want to take a break! The bacteria simply go dormant and wait for the next feeding. Yes, you can use discard to start another starter! Just wait until it is established first.
well I have found this recipe and am giving it a try. I guess I need to get a scale so I can follow the bread making in grams. Thank you for making this sound easy enough to try!
Hi Jen! You’re welcome, please let me know if you have any questions! You can find an inexpensive scale on amazon (10 bucks or less). It is extremely useful, especially when making bread. Let me know how things turn out! -Jamie
I apologize if I missed it but when can you start to use the discard for other recipes?
Hi Suzanne! I actually did not include thatI realized, will update the article. I would wait until about 2 weeks, or when your starter is regularly doubling in size after feedings. I would throw away all of the discard in the first week as this is when the bacteria is getting established. Let me know if that makes sense!
Thank you for all of v this information. I’ve never made a sour dough starter but in excited to try. How much of the starter would I use for one loaf of bread, how far will this much starter go?
Hi Cindi! I am so excited for you! So most bread recipes call for 50-100 grams of active sourdough starter. I personally keep around 300 grams of starter at a time, but I use it for discard recipes as well. You can keep as little or as much as you like, but you will need to always feed your starter more than the base amount. If you need 50 grams for a recipe, you will want to feed your starter enough to have that 50 grams and some left over for feeding the starter again. I like to write down the weight of my jar and the base weight of the jar + sourdough starter. Let me know if that makes sense, I know it can be confusing to start!